3D Multilayer Paris Laser Cut Files: Bringing the City Skyline to Life
The intersection of digital design and physical craftsmanship has never been more accessible. For hobbyists, interior designers, and small business owners alike, the ability to transform a vector file into a tangible object is a powerful tool for creativity. Among the most sought-after designs in this space are 3D Multilayer Paris Laser Cut Files. These files allow users to recreate the iconic silhouette of one of the world’s most recognizable cities, not as a flat image, but as a dimensional art piece that captures depth and perspective.
This guide explores how these specific digital assets work, why they have become a staple in modern maker culture, and what you need to know to execute a successful project using materials like wood, acrylic, or MDF. Whether you are using a CO2 laser cutter, a fiber laser, or a CNC router, understanding the nuances of multilayer layouts is key to achieving professional results.
Understanding the Multilayer Concept
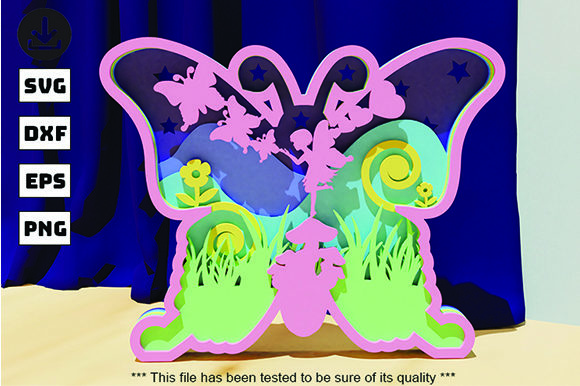
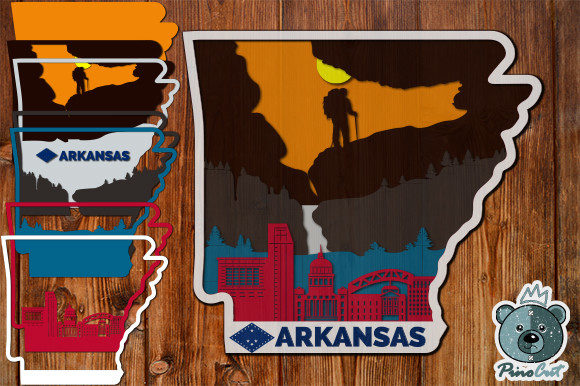
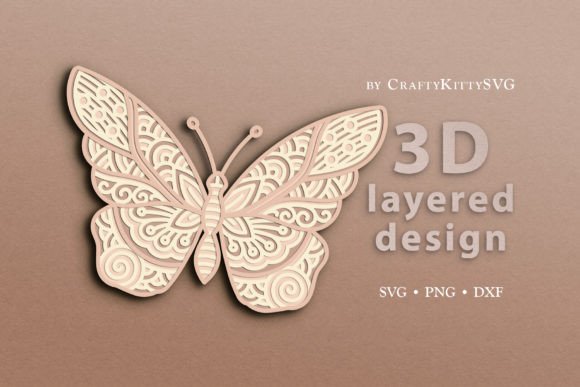
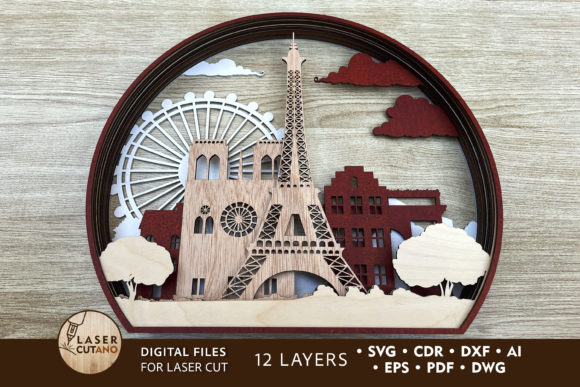
A 3D multilayer file is essentially a series of stacked 2D shapes that, when assembled, create a three-dimensional effect. Unlike traditional single-layer silhouettes, which offer only a flat profile, multilayer designs use varying depths to simulate distance and volume. In the case of the PARIS 3D Laser Cut File, the design typically features twelve distinct layers. Each layer represents a different plane of the cityscape, from the foreground elements like trees or fences to the distant spires of Notre Dame and the Eiffel Tower.
This technique relies on optical illusion and precise alignment. By spacing each layer slightly apart, the eye perceives depth, turning a simple cutout into a complex architectural model. The LaserCutano Studio has specifically prepared these digital multilayer layout files to ensure that the spacing and proportions are optimized for standard cutting machines. This attention to detail means that users do not need to be expert graphic designers to achieve a stunning result; they simply need to follow the provided instructions for assembly.
Material Selection and Compatibility
One of the primary advantages of purchasing a comprehensive digital package is the versatility it offers regarding materials. While wood is a classic choice for its warmth and natural aesthetic, modern fabrication allows for a wide range of substrates. The recommended materials for this specific Paris skyline in a ball design include:
- Plywood and MDF: These are excellent choices for beginners and professionals alike. They hold up well under laser cutting and provide a sturdy base for gluing. For wood-based materials, a thickness between 3 mm and 6 mm (1/12 in to 1/4 in) is recommended to maintain structural integrity without making the model too heavy.
- Acrylic and Plexiglas: For a modern, sleek look, clear or colored acrylic can be used. Acrylic cuts cleanly and can be polished to a high shine, offering a translucent quality that changes with lighting conditions.
- Metal, Cardboard, and Paper: Thinner metals can be etched or cut depending on the machine power, while cardboard and paper are ideal for prototyping or creating lighter decorative items.
When selecting your material, consider the intended use. If the piece will sit on a table as an object decor item, heavier materials like thick plywood may provide better stability. However, if portability is a concern, thinner acrylic or cardstock might be preferable. It is also worth noting that you can increase the size of the design significantly, but when reducing the design, you must carefully consider thin elements to ensure they do not break during the cutting or handling process.
Technical Specifications and File Formats
After payment, users gain access to a .zip file containing the complete project. This archive includes files in multiple formats to accommodate different software preferences and machine requirements. The included formats are:
- .AI (Adobe Illustrator): Ideal for users who want to edit colors or make minor adjustments before cutting.
- .SVG (Scalable Vector Graphics): A universal vector format compatible with most laser cutting software, including LightBurn and CorelDRAW.
- .DXF and .DWG: Standard CAD formats widely used in engineering and architectural design, ensuring compatibility with CNC routers and other precision cutting tools.
- .CDR (CorelDRAW): Specifically formatted for users of Corel’s ecosystem.
- .EPS and .PDF: Encapsulated PostScript and Portable Document Format files, useful for backup or printing reference guides.
It is crucial to unzip the folder immediately upon download to avoid any file corruption issues. Once extracted, review the layers individually. Each layer is numbered or color-coded to assist in the sorting process. Proper organization at this stage saves significant time during the cutting phase.
The Creative Process: From Digital to Physical
Creating the finished product requires patience and precision. The final dimensions of the PARIS multilayer layout are approximately 15.8 x 13.5 inches. This size is substantial enough to be a statement piece but compact enough to fit on most desks, shelves, or mantels.
Step 1: Preparation
Before loading your material into the machine, ensure your settings are calibrated. Different materials require different speeds and powers. For example, acrylic often benefits from lower speed and higher power to achieve a clean edge, while wood may require faster speeds to prevent excessive charring. Always perform a test cut on a scrap piece of the same material to verify focus and exposure.
Step 2: Cutting
Load the files into your cutting software. Ensure that the layers are oriented correctly. Some designs require the grain of the wood to run in a specific direction for aesthetic consistency. Cut all layers separately. Remove the excess material (weeding) carefully, especially for intricate details like the windows of buildings or the lattice of the Eiffel Tower.
Step 3: Painting
The recommendation to paint before gluing is critical. Trying to paint individual layers after they are stacked is nearly impossible without getting adhesive on the visible surfaces. Use acrylic paints or spray paints to add color. You might choose a monochromatic scheme for a minimalist look, or a gradient sky background to enhance the depth effect. Allow the paint to dry completely before proceeding.
Step 4: Assembly
This is where the magic happens. Using a strong adhesive suitable for your chosen material (such as PVA glue for wood or cyanoacrylate for acrylic), stack the layers according to the provided diagram. Spacers, such as small pieces of cardboard or specialized standoffs, may be needed to maintain consistent gaps between layers. Align each layer meticulously; even a slight misalignment can distort the 3D effect. Once glued, allow ample time for the adhesive to cure fully to ensure the structure is rigid.
Trends in Personalized Decor and Small Business Applications
The demand for 3D laser cut wood products reflects broader trends in consumer behavior. People are increasingly moving away from mass-produced, generic decor in favor of unique, personalized items that tell a story. A Paris skyline model serves as both a conversation starter and a tribute to travel, romance, or architectural appreciation.
For entrepreneurs and makers, these files represent a low-barrier entry into the custom decor market. Because the design is digital, inventory costs are virtually non-existent until a sale is made. This "print-on-demand" or "cut-on-demand" model reduces waste and allows for rapid iteration. Businesses can offer customization options, such as changing the color palette or adding personal text, thereby increasing the perceived value of the product.
Furthermore, the educational sector is adopting these tools. Teachers and students use multilayer models to visualize geographic concepts, historical landmarks, and engineering principles. The tactile nature of assembling a 3D model reinforces learning in a way that 2D images cannot. As technology becomes more affordable, the line between professional manufacturing and home crafting continues to blur, empowering individuals to produce high-quality goods.
Practical Considerations for Longevity
To ensure your 3D Multilayer Paris Laser Cut Files creation lasts for years, consider environmental factors. Wood and paper are hygroscopic, meaning they absorb moisture from the air. Keep the finished piece in a dry environment to prevent warping. Direct sunlight can fade painted surfaces over time, so display the item away from intense UV exposure if possible.
If you plan to sell these items, packaging is also important. Due to the layered construction, the product can be disassembled if handled roughly. Provide clear instructions for reassembly if the item needs to be shipped. Including a small bag of extra adhesive or spacers can be a thoughtful touch that enhances customer satisfaction.
Conclusion
The 3D Multilayer Paris Laser Cut Files offered by LaserCutano Studio represent a blend of artistic vision and technical precision. By providing versatile file formats and detailed specifications, they enable creators to bring the beauty of Paris into their homes or businesses with ease. Whether you are a seasoned laser operator or a curious beginner, this project offers a rewarding challenge that results in a sophisticated, eye-catching decoration. As the maker movement continues to grow, tools like these empower us to turn digital ideas into physical realities, one layer at a time.